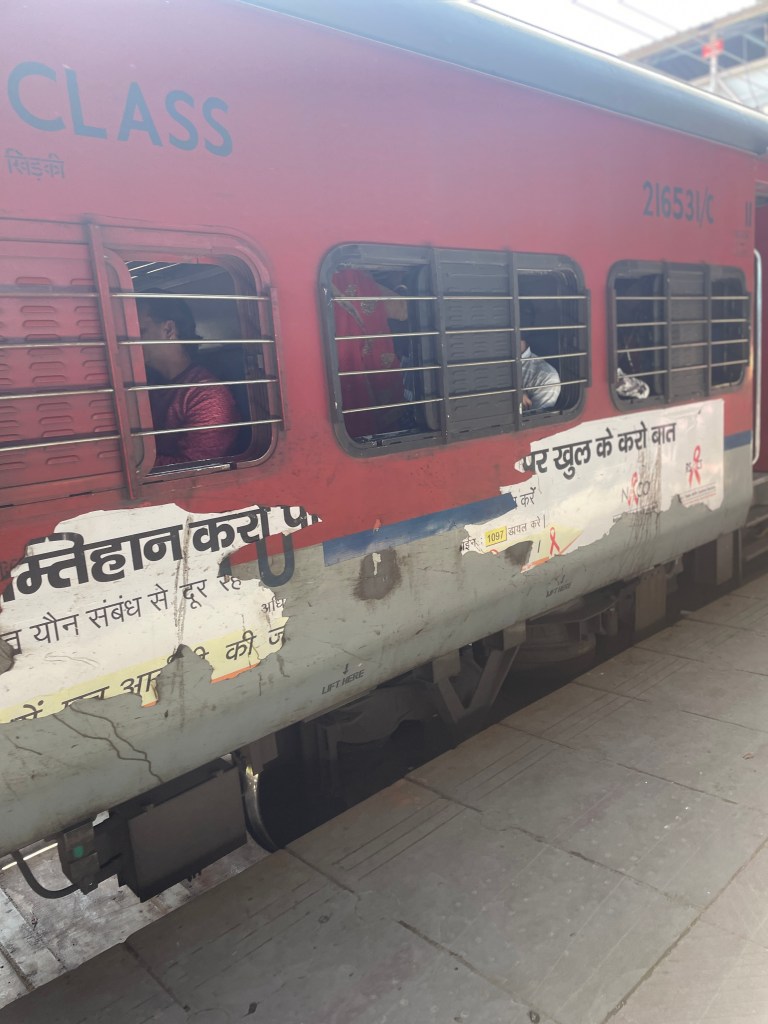
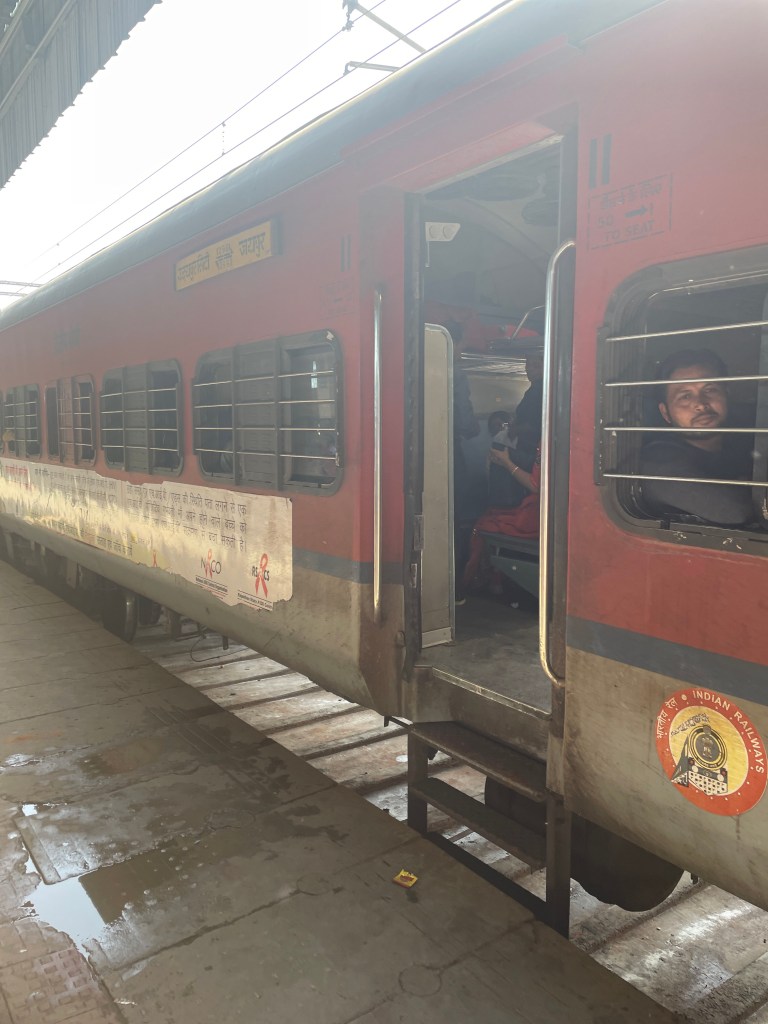
There are different classes in Indian trains. The coach in the picture above is the most economical class, hence metal bars in the windows. There is no air con in the cheapest coaches but you have access to fresh air.
f you are considering travelling around India by train, you may find this post helpful. I have spent the past seven days navigating the Indian railway system, and I decided to document the entire process in the hope that my experience might help other travellers.
I am a solo female traveller, and this is my second visit to India. During my first trip, I was based in Rishikesh for two months while completing my 500-hour yoga teacher training. My second visit has been an entirely different experience: this time, I am constantly on the move, travelling from place to place across Uttar Pradesh and Rajasthan.
I flew from London Heathrow to Indira Gandhi International Airport and spent two days in New Delhi before taking a train to Agra. From Agra, I continued by train to Varanasi. The first journey was relatively short, lasting approximately three hours. The second was a very different undertaking: an overnight journey covering 655 kilometres and lasting around 15 hours.
Travelling by train in India can certainly be an adventure—and an unforgettable experience. I am glad that I decided to try it. For budget-conscious travellers, trains can be an excellent option. In my experience, they have been affordable and safe, and the online booking process is relatively straightforward.
However, the system can feel confusing at first, particularly if you have never used Indian trains before. A little preparation makes an enormous difference. I have therefore compiled a list of my most useful tips for travellers who have never taken a train in India but would like to give it a try.
- Create your IRCTC account
Create your IRCTC account. When you register with IRCTC you will set up your own username and password. Once the registration is complete you will be able to book your train tickets directly from the official website using the e-ticketing system. IRCTC stands for Indian Railway Catering and Tourist Corporation. When you have a registered account you can track trains, cancel tickets, make PNR enquiries and claim refunds. Having a registered account is very convenient and cost effective. The link to the official IRCTC website is below:
https://www.irctc.co.in/nget/train-search
2. Create an IRCTC Account Before Arriving in India
If you do not have an Indian telephone number or address, creating an IRCTC account may require considerable patience and determination. I set mine up while I was still in the UK because I wanted everything to be ready before I arrived in India. I remember that the process took a couple of hours and involved several unsuccessful attempts.
However, if I managed to create one successfully, you can too! It is extremely satisfying to be able to book train tickets directly through the official railway website rather than relying on an intermediary. Third-party booking services generally add their own fees, making your train or bus tickets more expensive.
3. Book Your Ticket Early
Book your train tickets as far in advance as possible—ideally at least two weeks before your planned journey. Seats on popular routes can fill quickly, particularly on long-distance trains.
I had no difficulty buying a ticket from New Delhi to Agra only three or four days before travelling, but that journey lasted approximately three hours. By contrast, when I booked my ticket from Agra to Varanasi seven days in advance, I was placed on a waiting list at position 17. That journey lasted more than 15 hours.
Fortunately, enough places became available before departure. When I checked my PNR status two hours before the journey, I discovered that an upper berth had been allocated to me.
4. Know the Name and Number of Your Train
You can print your ticket or save a screenshot on your phone, but it is also useful to write down the name and number of your train somewhere easily accessible.
Indian railway stations have electronic information boards displaying train details and platform numbers. If your train is called the Shatabdi Express or the Marudhar Express, look for that name and its corresponding number on the board. Once you have located the correct train, you should find its platform number displayed alongside it.
5. Arrive at the Station Early
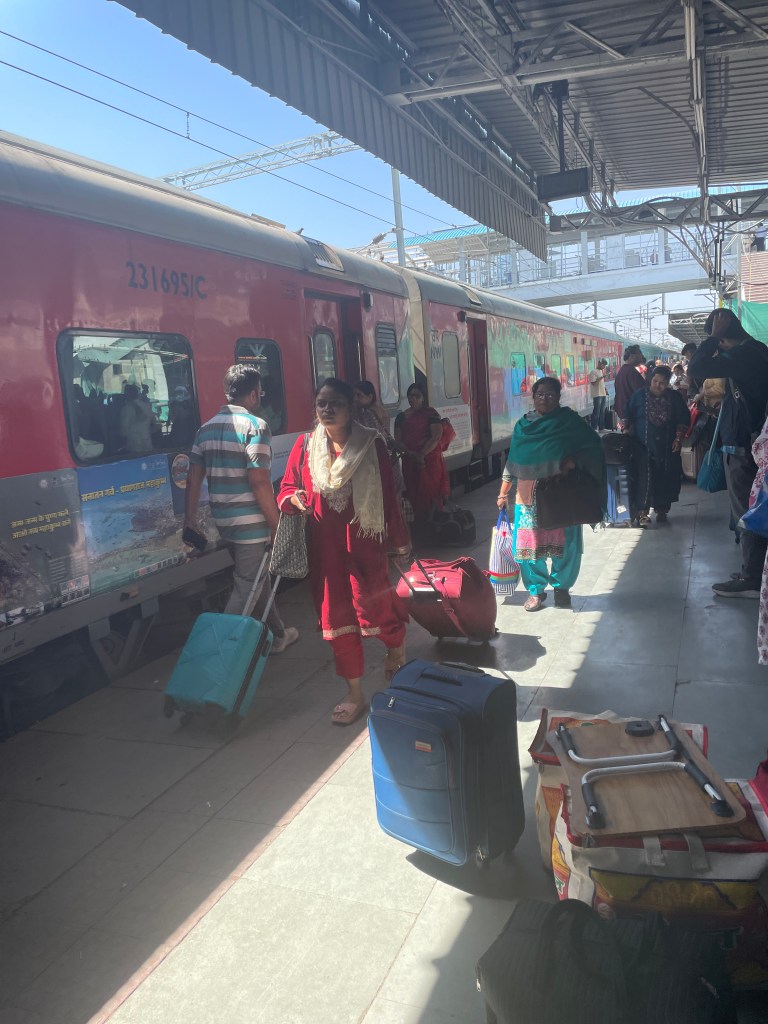
Railway stations in India can be extremely crowded. If you are travelling by train for the first time, arrive early and give yourself plenty of time to understand the layout, locate the correct platform and find the position of your coach.
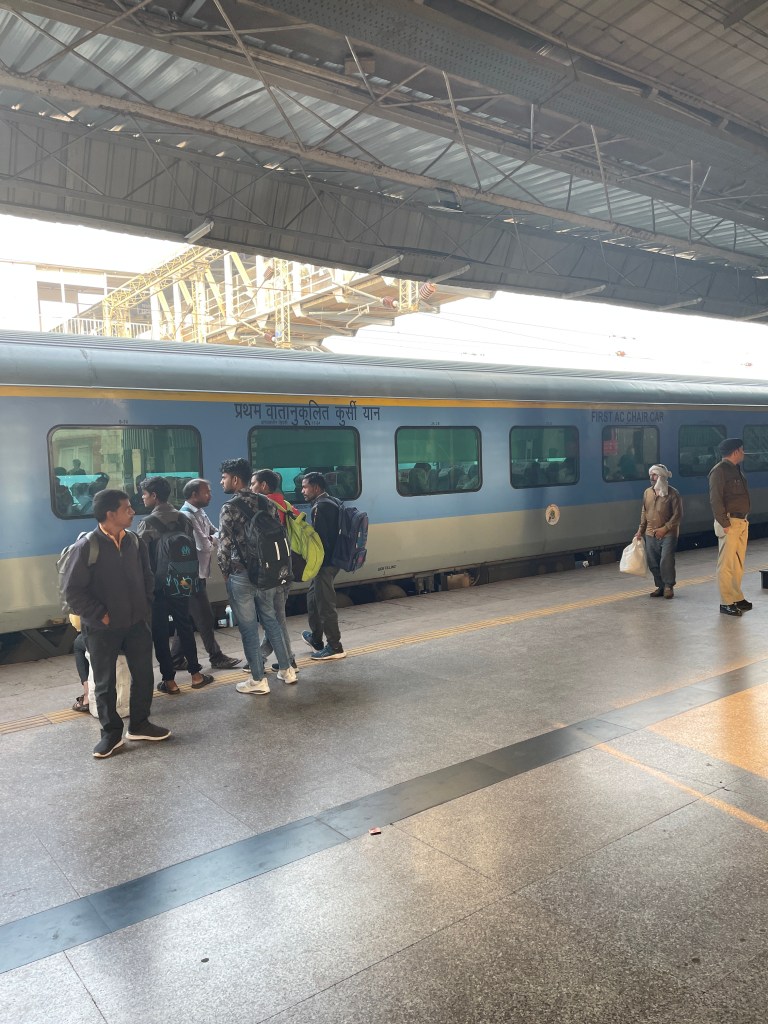
Indian trains can be extraordinarily long, with many coaches. When I travelled from New Delhi to Agra, my seat was number 23 in coach E1. When the train arrived, I had to run along the platform for at least three minutes to reach my coach. The preceding coaches—A, B, C and D—seemed endless.
Do not assume that reaching the correct platform means your search is over. You may still have a considerable distance to walk before reaching the coach listed on your ticket.
6. Familiarise Yourself with Railway Abbreviations
The Indian railway system uses numerous acronyms and abbreviations. When I booked my first tickets, I had to look them up constantly because very few were immediately obvious to me.
Understanding the most common abbreviations will make it much easier to choose the correct ticket, class, coach and berth. I have included a list of the most useful ones below.
- CAN: cancelled
- CNF: confirmed
- RAC: reservation against cancellation
- WL: waitlist
- RLWL: remote location waitlist
- PQWL: pooled quote waitlist
- RSWL: road side waitlists
- REL: released
- GNWL: general waitlist
- TQWL: tatkal waitlist
- UB: Upper berth
- LB: Lower berth
- MB: middle berth
- SU: Side upper berth
- SL: side lower berth
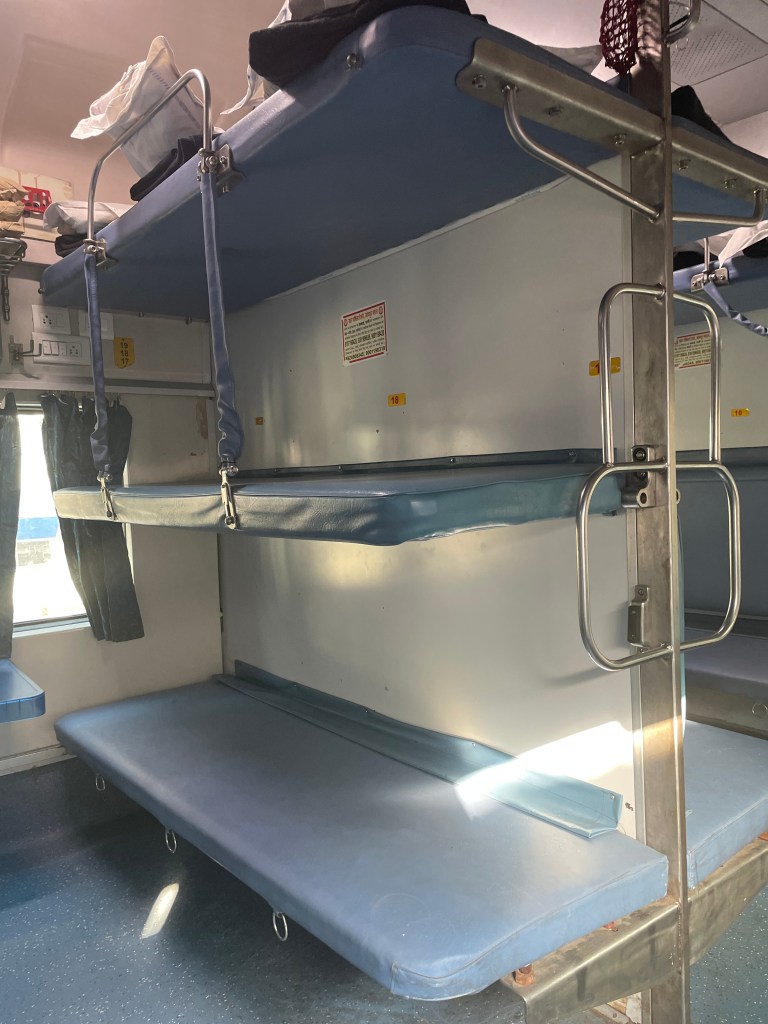
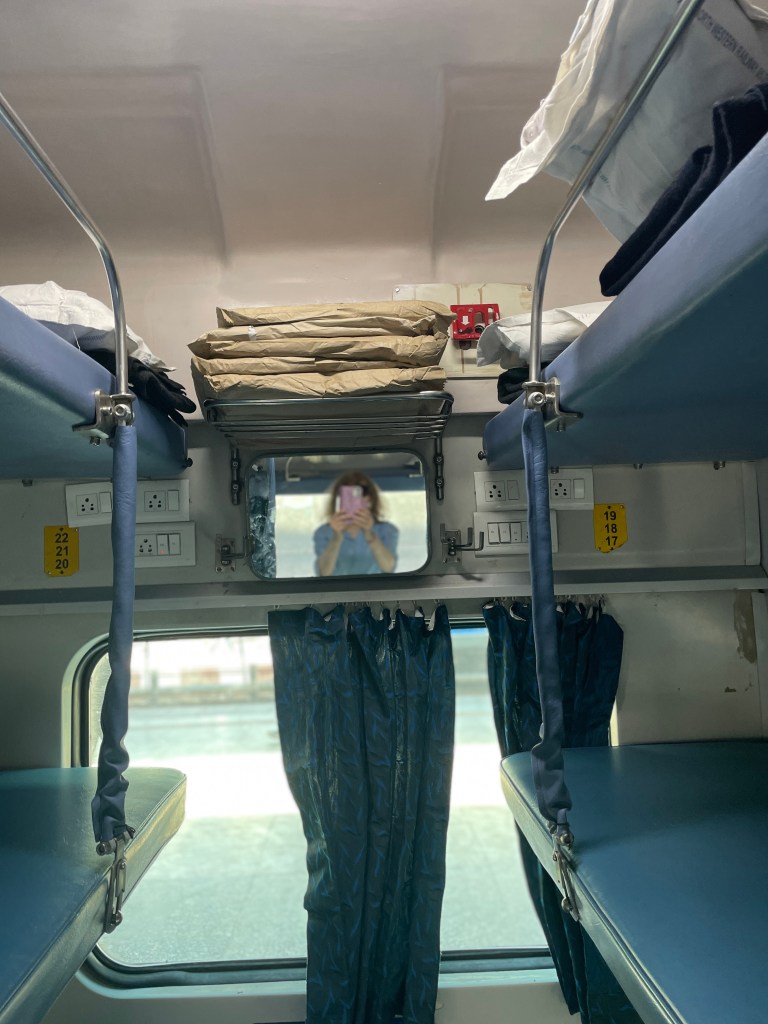
Lower berth, middle berth and upper berth. You can climb your berth using metal ladder on the side.
7. Book upper berth for long-distance travel.
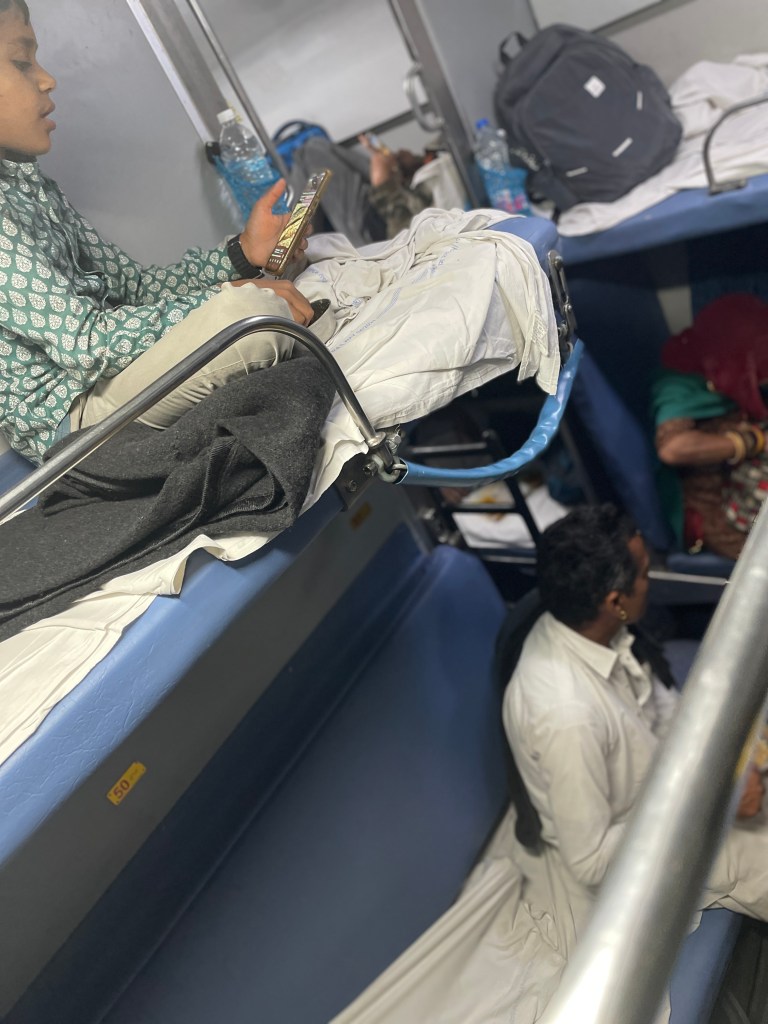
For long-distance or overnight journeys, consider booking an upper berth. There is usually much more commotion at floor level than there is near the ceiling. The train stops at numerous stations, passengers continually enter and leave, and vendors hurry through the coaches selling water, chai, samosas and other snacks.
On the upper berth, I enjoyed considerably more peace and privacy. I also felt safer there and kept my backpack beside me while I slept. Larger luggage can be stored beneath the lower berth, but always take your money, passport, phone and other valuables to your own berth.
The only inconvenience I experienced was trying to attract the attention of the food and drink vendors. They move through the coach remarkably quickly, shouting, “Paani, paani, paani!” or “Samosa, samosa, samosa!” You need fast reflexes if you want to catch one and buy something. Raise your hand and call out clearly—or try “Bhaiya!” or “Suniye!”—before the vendor disappears into the next coach.
I travelled on a side-lower berth only once, and I received far more attention there. Families stopped to take selfies with me, while some men stared intensely. I assumed that people were simply curious and wanted to interact, but I was exhausted and desperately wanted to sleep. Eventually, I pulled my hat over my face and managed to get some rest.
If you would like to socialise and observe everything happening around you, a lower berth may suit you perfectly. If you prefer greater privacy, peace and distance from the commotion, choose an upper berth.
8. Bring a pillow cover and a bedsheet
On my long-distance overnight journey, I was provided with a small pillow, a sheet and a blanket. Because the coach was air-conditioned, it became surprisingly cold during the night, and the blanket was necessary.
If cleanliness is important to you, bring your own pillowcase and, if you have sufficient luggage space, a lightweight duvet cover. You can place the train blanket inside your clean cover rather than having it directly against your skin. If I had had more room in my backpacks, I would definitely have brought one. It would have made the overnight journey feel considerably cleaner and more comfortable.
9. Track your train using Ixigo app
Long-distance train travel can be exhausting. During my overnight journey from Agra to Varanasi, I woke two or three times feeling completely disoriented and wondering where I was.
I used the IRCTC “Track Your Train” option, but you can also use a railway-tracking app such as Ixigo. Ixigo is particularly helpful because it displays the train’s live location, estimated arrival time, remaining distance and likely platform number. Always confirm the platform on the station’s information boards, however, as last-minute changes can occur.
Tracking your journey is extremely reassuring, especially at night when it is dark outside and all your fellow passengers are fast asleep. You can see how far you have travelled, how much of the journey remains and when you are expected to reach your destination. Train running times can change considerably, so do not rely solely on the original timetable. For a long overnight journey, access to live tracking is invaluable.
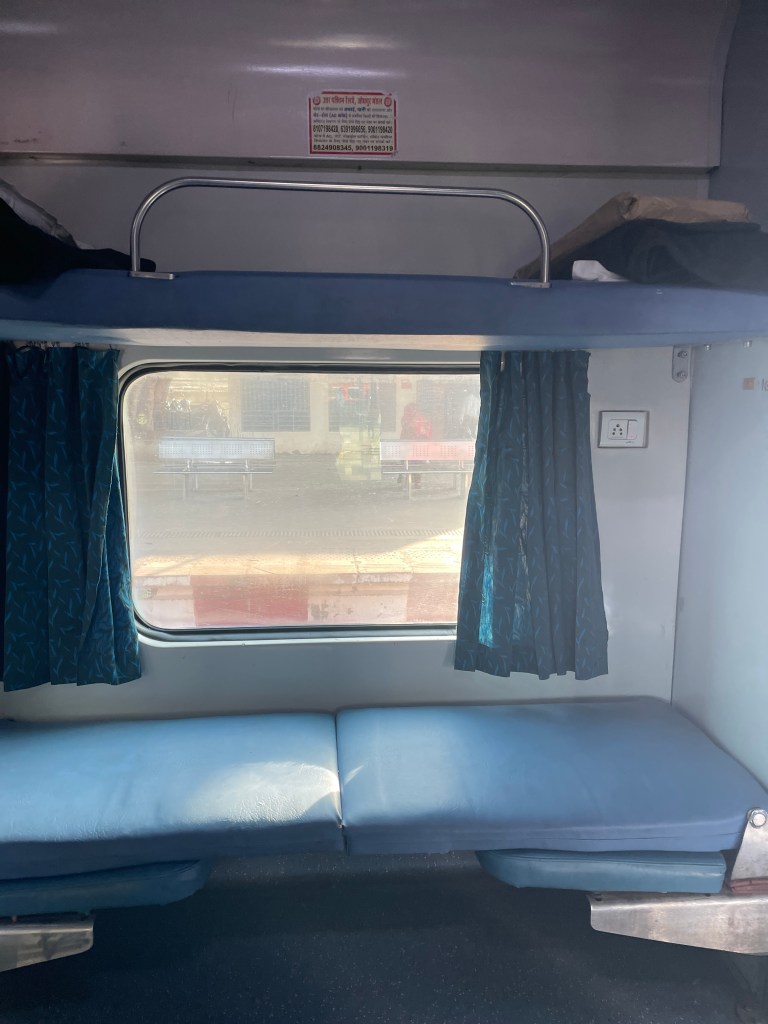
Lower side berth and upper side berth
If no full berth is available when you book your ticket, you may be placed on a waiting list—shown as WL—or receive RAC status, meaning “Reservation Against Cancellation.”
RAC is generally preferable to WL because it allows you to travel and provides you with somewhere to sit. RAC passengers commonly share a side-lower berth, like the one pictured above. Sitting upright for many hours is obviously less comfortable than being able to lie down on your own berth, but at least you have a seat and can board the train.
Your booking may still be upgraded if a full berth becomes available. When I booked my journey from Varanasi to Jaipur, I initially received RAC status. Fortunately, before departure, my RAC seat was converted into a full upper berth.
10. Bring your own toilet paper, hand sanitizer and wipes
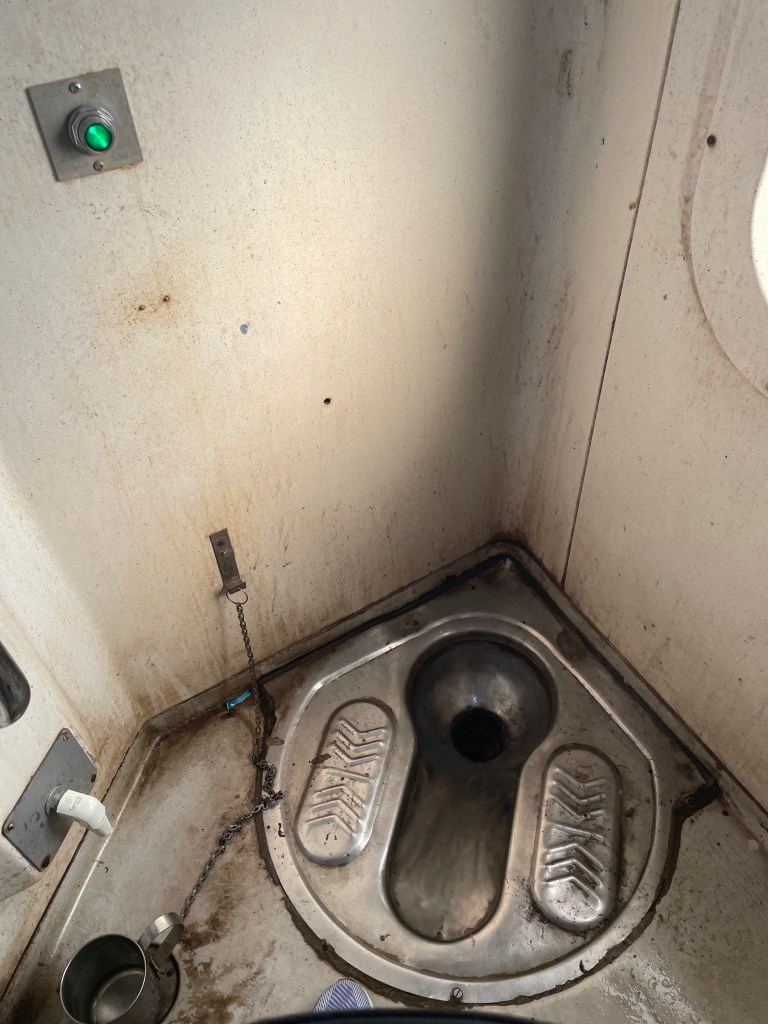
Some Indian trains have both Western-style and squat toilets, while others may provide only squat toilets. Do not assume that toilet paper will be available—it often is not.
Carry your own toilet paper or tissues, along with hand sanitiser, and keep them somewhere you can reach easily during the journey. Be prepared before you enter the toilet, particularly on a long overnight trip.
11. Choose the right class
magine that you want to travel from Udaipur to New Delhi. The journey takes approximately 12 hours, although the precise duration depends on the train you choose.
Depending on the service, you may be offered up to five reserved travel classes:
- Sleeper Class (SL)
- AC Three-Tier Economy (3E)
- AC Three-Tier (3A)
- AC Two-Tier (2A)
- AC First Class (1A)
Sleeper Class is the least expensive reserved option. At the time of my search, a ticket for the 12-hour journey cost approximately ₹405.
Sleeper coaches are not air-conditioned and have open bays containing eight berths: six arranged in two facing tiers, plus a side-lower and side-upper berth across the aisle. Unlike air-conditioned coaches, they are not sealed behind thick glass windows. The open windows and overhead fans provide ventilation, although they also allow in considerably more heat, noise and dust.
AC 3 Economy (3E) cost for 12 hours journey – ₹ 1045
AC 3 Tier (3A) cost for 12 hours journey – ₹ 1060. I used AC 3 Tier class most often. It is very common, affordable and convenient. I felt very safe travelling in this class.
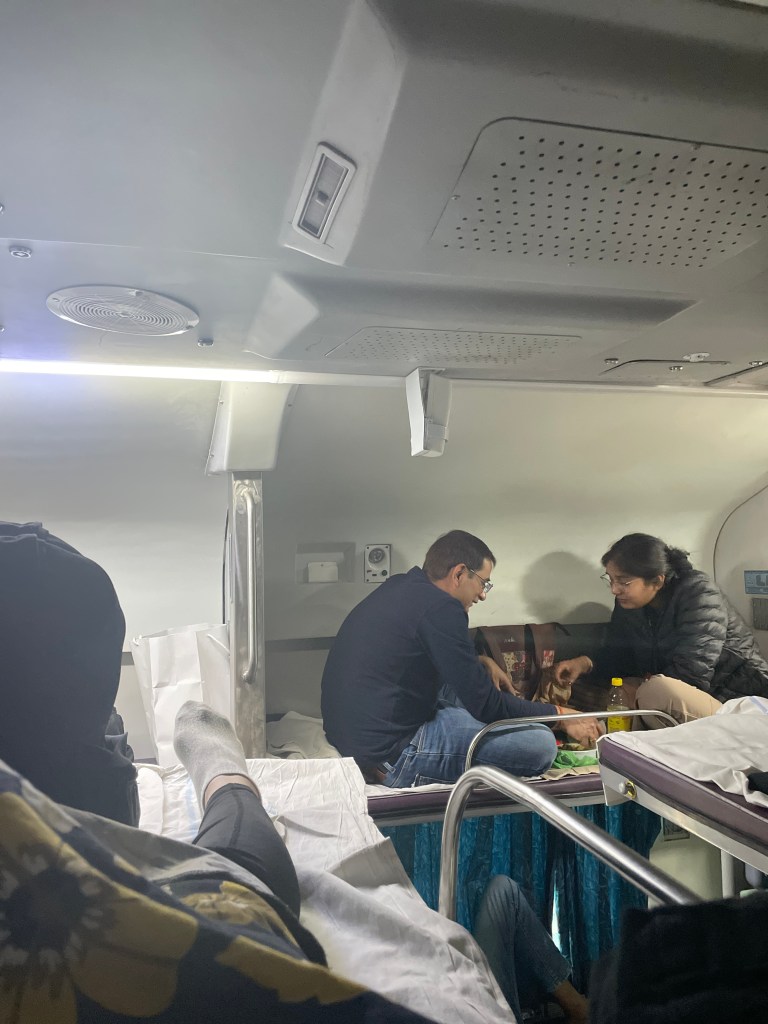
AC 2 Tier (2A) cost for 12 hours journey – ₹ 1490.
AC first class (1A) – cost for 12 hours journey – ₹ 2490. As you can see, first class is almost double the cost of AC 3 Economy class (3E). You could get a flight ticket for this price.
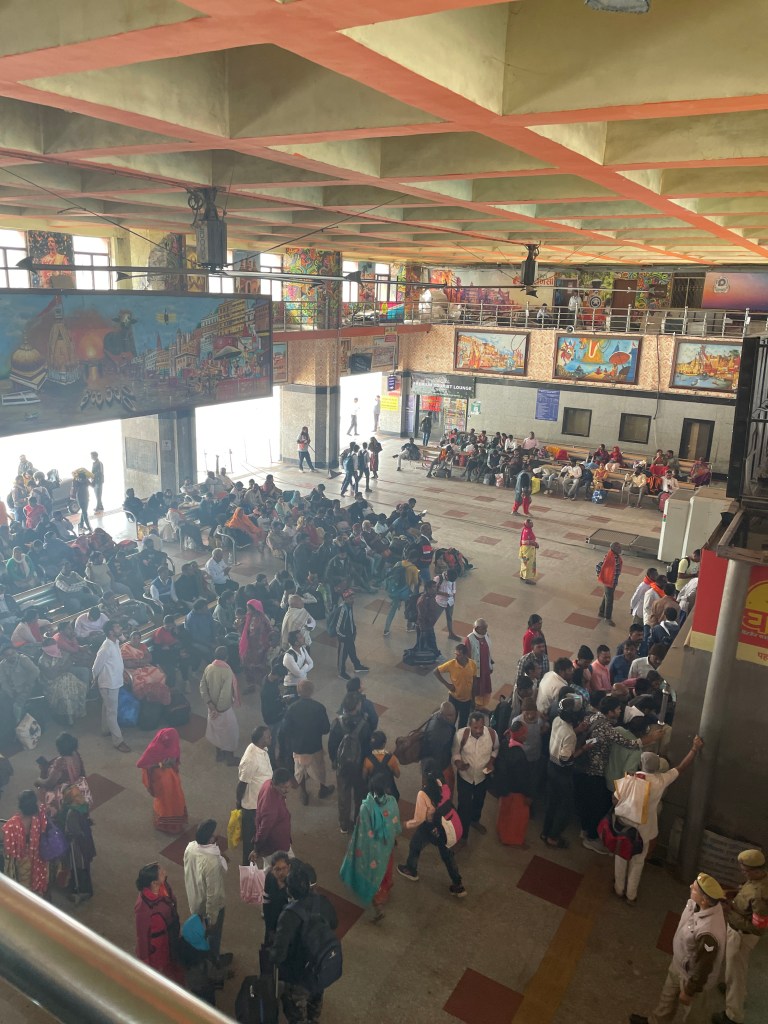
Waiting hall, train station in Varanasi
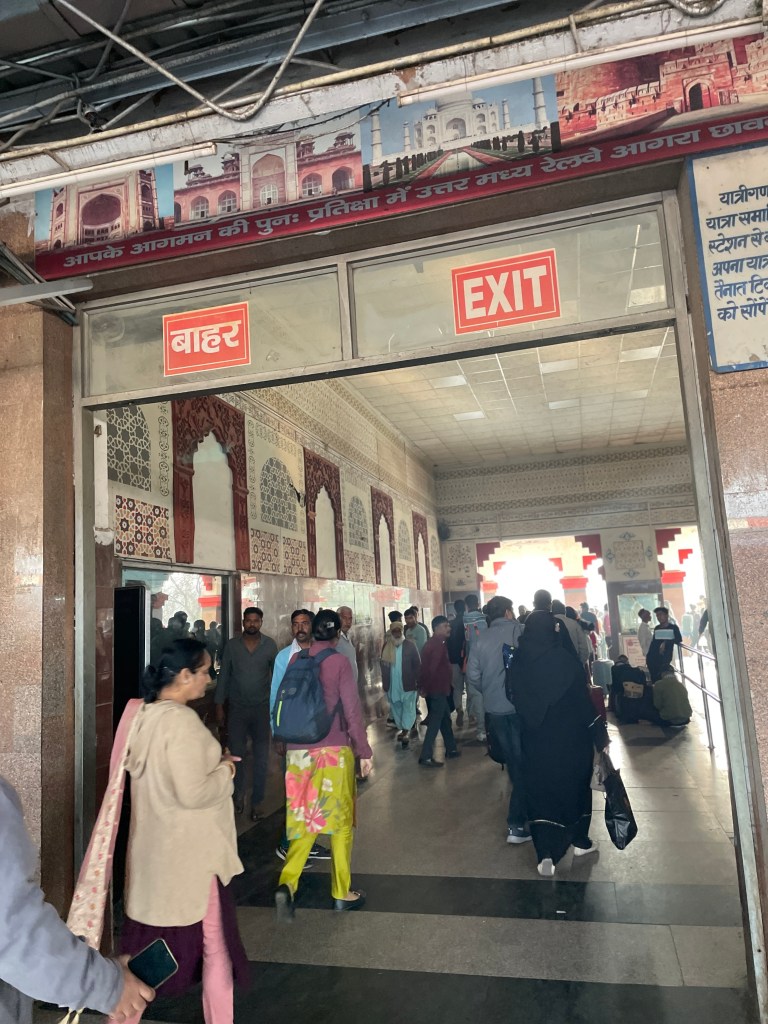
Train station in Agra
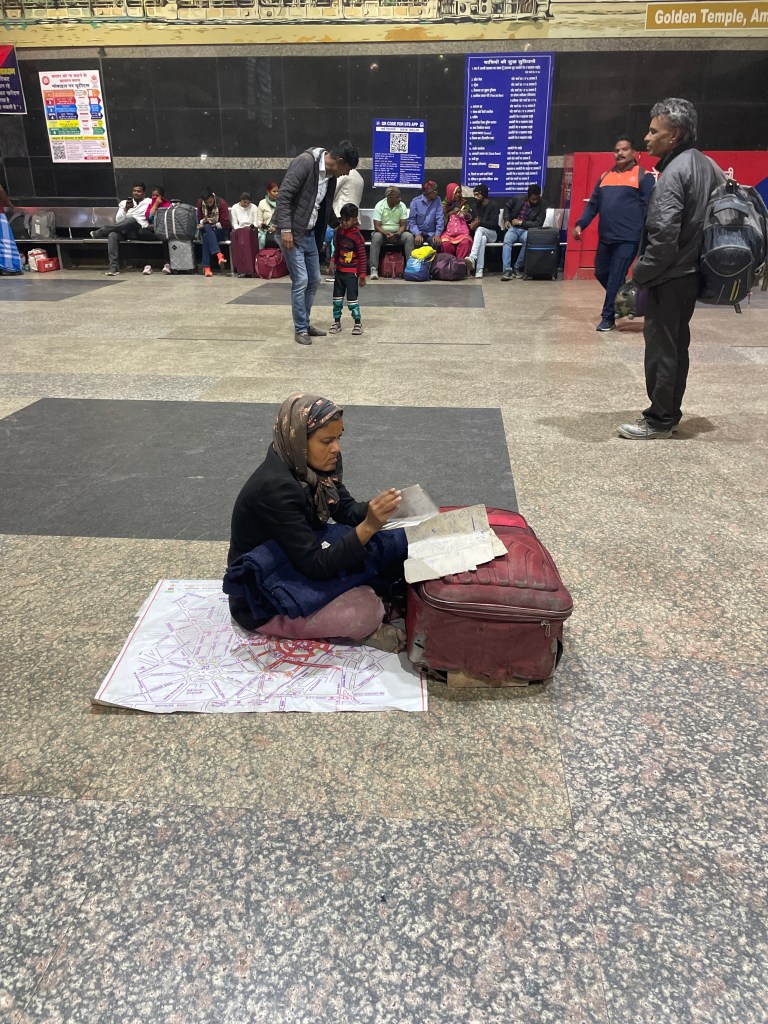
Train station in New Delhi
Travelling by train in India can be an extraordinary experience and a wonderful adventure. I am still learning the ropes, and I look forward to sharing more discoveries as my journey continues.
I hope these tips make your first Indian train journey a little easier, calmer and more enjoyable. Thank you for reading—and happy travels!










Leave a comment